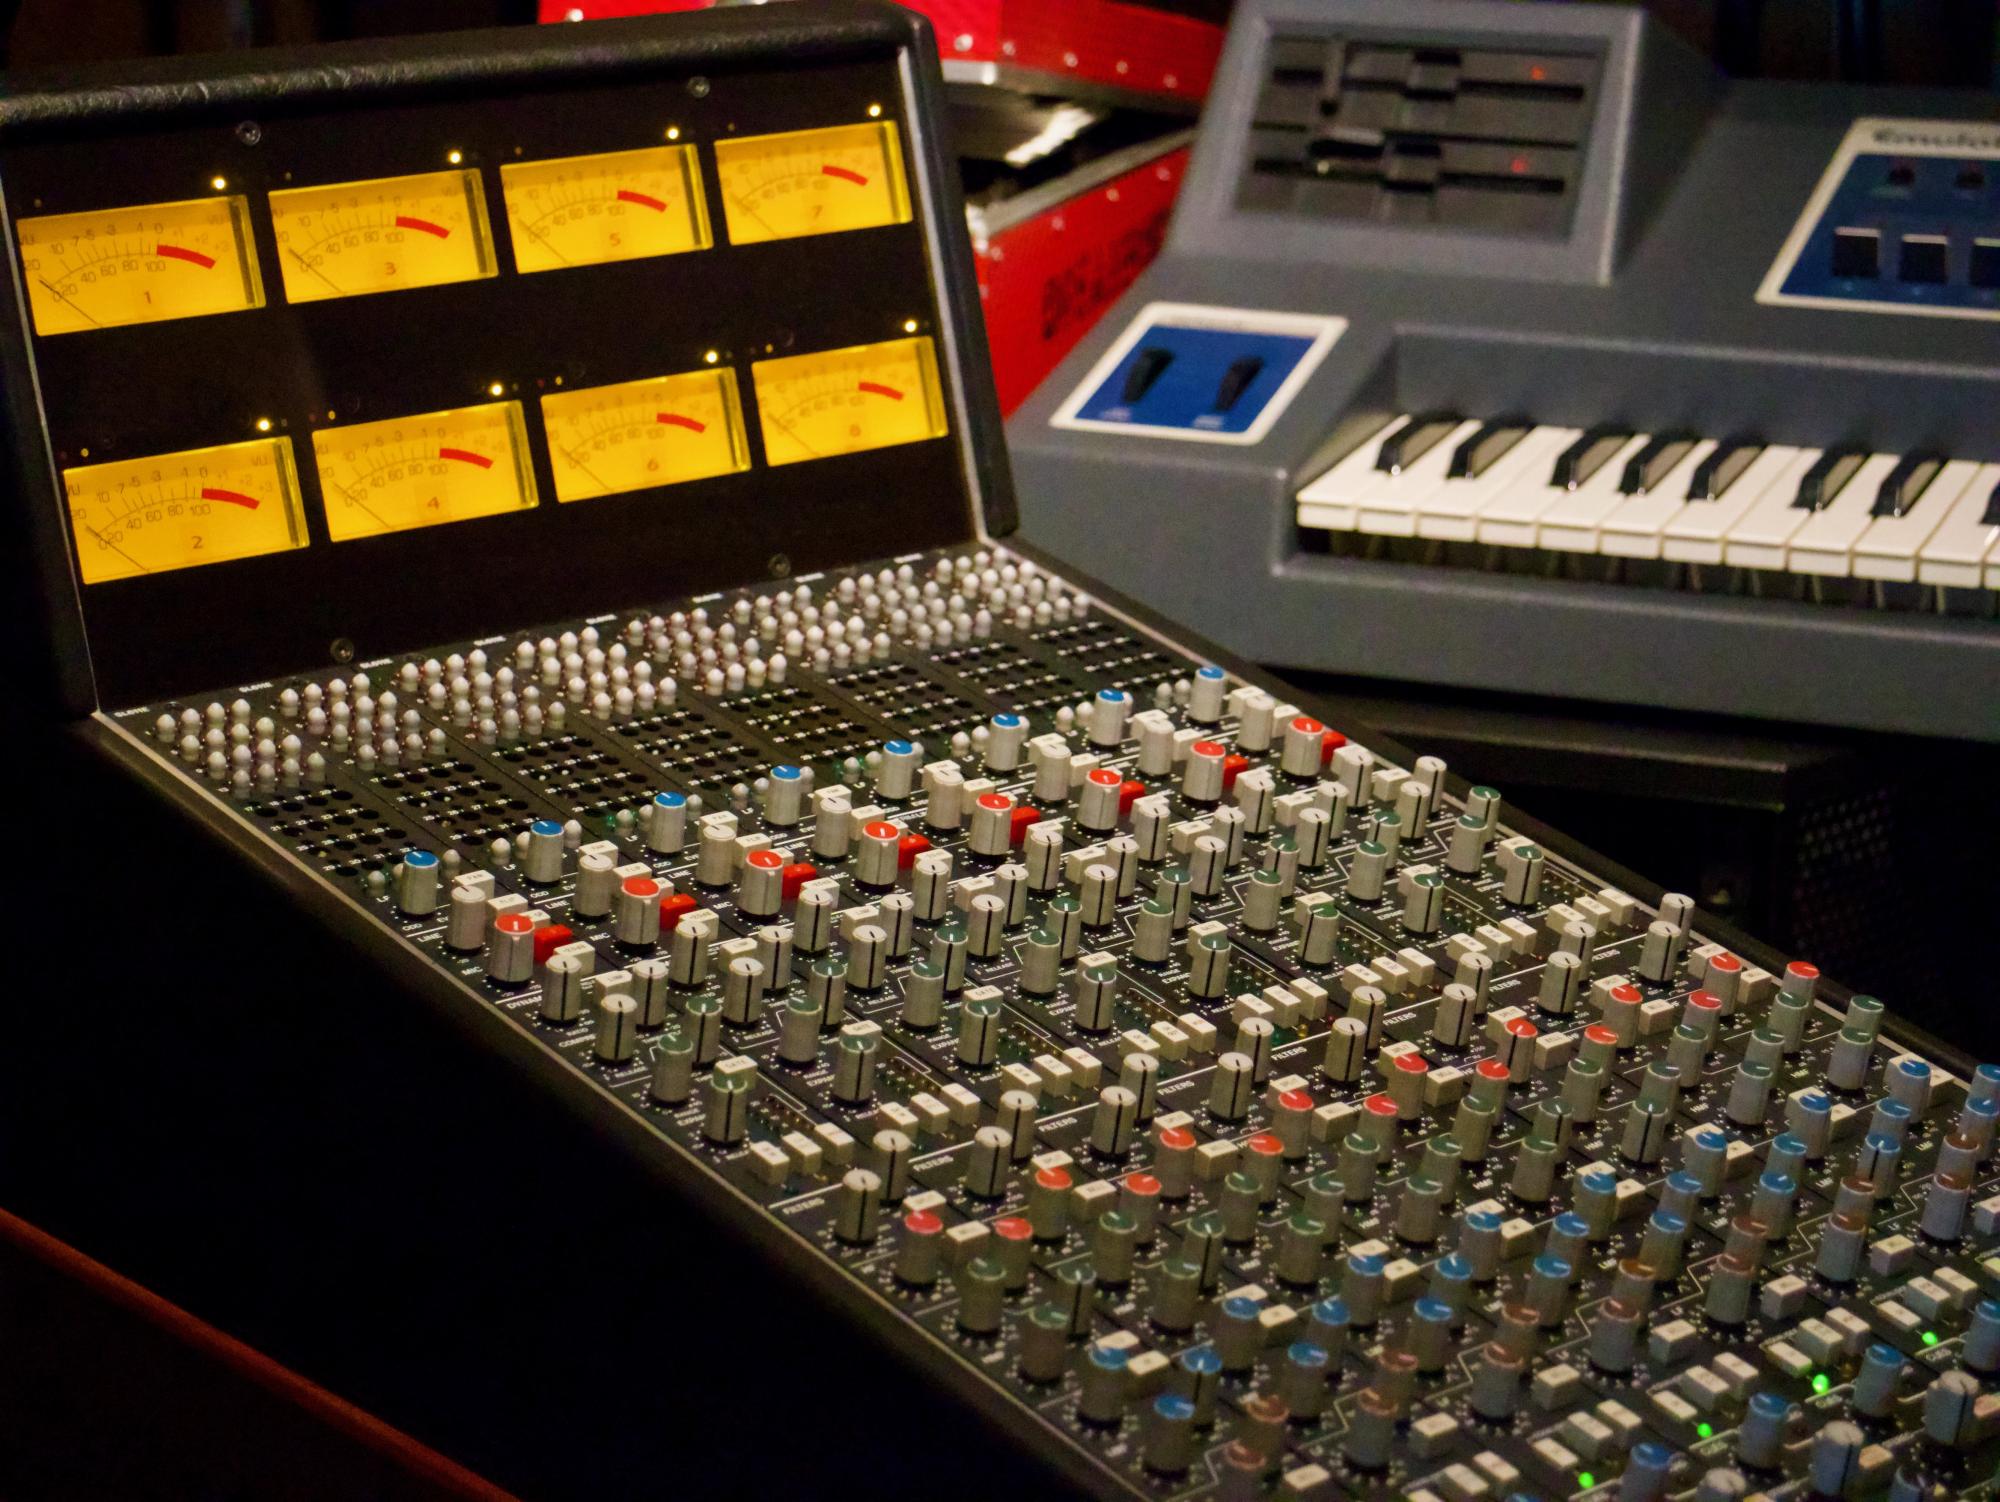
The Mini SSL is like the beating heart of your studio setup, where all the sounds come together and magic happens. In this guide designed for those with intermediate knowledge of sound engineering, we’ll walk you through how to set up your in-line mixing console so you can make the most of it. From connecting instruments to recording and mixing, we’ll break it down step by step to help you get started with your Mini SSL.
Harnessing the Power of Connections
Mastering connections is essential for the Mini SSL to serve as the cornerstone of your studio setup. Here’s a breakdown of the most important connections:
- External Instruments to Mini SSL: Utilize this for recording purposes.
- External Outboard Gear: Enhance your sound with extra processing.
- DAW Output to Mini SSL: Integrate and mix DAW tracks seamlessly.
- Mini SSL Output to DAW: Facilitate bouncing your mix into your DAW.
- Mini SSL Output to Speaker System: Enable direct monitoring through the Mini SSL
Recording with the Mini SSL
The Mini SSL initially has the capability to record eight mics, each channel having its own mic input. Depending on the intention of your recording, this quantity of microphones could already be adequate for recording a project. Take, for instance, the following setup for recording a small “live” band:
- 3 or 4 mics for recording drums, for example, with the Glyn Johns technique.
- 1 mic for Lead Vocals.
- 2 mics for recording the amplifiers of a lead guitar and rhythm guitar.
- 1 Line input to directly record a bass guitar with a DI.
- One extra overhead mic for the entire band (when available)
If you’re used to working with a larger setup that involves more microphones, consider the use of a breakout box for your microphone inputs. This makes it easy to re-patch your microphones whenever needed. To actually record your instruments into your DAW, you’ll need to connect the group outputs of your Mini SSL to your Interface’s input. This allows you to route the channels through the routing matrix or direct them to your DAW. Check out the illustration below for a visual representation of how the Mini SSL connects for recording purposes.
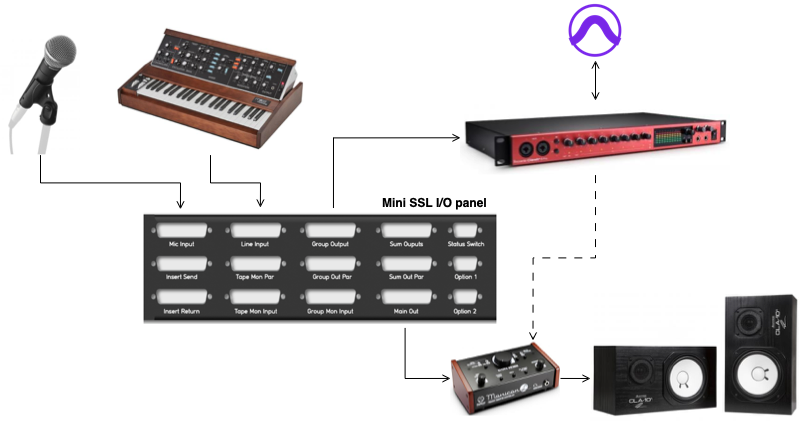
Setup on how to connect the mini-SSL for recording
Mixing with the Mini SSL
To mix your project effectively, you’ll need to route your DAW outputs (audio channels) to your Mini SSL using your interface. This allows the signals from your DAW to flow into the SSL channels, where you can give your audio tracks the characteristic SSL sound. Additionally, you’ll want to route the Mini SSL output back to your DAW to bounce the final mix.
Commonly, the Tape Mon input serves as the conduit for this DAW-to-Mini SSL routing. Alternatively, you can utilise the Group Mon Input or Line Input (if you’re not recording line instruments) for this purpose, offering up to 24 channels for mixing with the Mini SSL. Once your final mix is ready, route the Mini SSL’s main output back to the interface using the Main Out (Quad Bus), facilitating seamless integration into your mixing setup.

Overview of how to connect the mini-SSL for mixing
The main output of the Mini SSL is called a Quad Bus, which means it sends out two stereo signals (quadraphonic). If you’re working with just stereo or two-channel audio, you can choose to route only the two front signals back to your interface for recording your final mix. This saves you input slots on your interface for other equipment.
The Mini SSL provides multiple copies of its Quad Bus on different connectors. This gives you more flexibility to send the master output to different places in your studio, for example for monitoring your Mini SSL mix. You can monitor your Mini SSL on your speaker system in two ways: through your interface (DAW Playback) or directly through your Mini SSL. If you choose direct monitoring, you must use one of the parallel quad busses to connect it to a monitor controller. You can also use one of the extra parallel quad bus outputs to send the output signal to another space in your room, like a recording booth.
Dsub connectors
The Mini SSL’s I/O panel on the back uses Dsub connectors, which make it easy to connect and reconfigure. However, for the most flexible setup, you can use a patchrow. This allows you to customise your inputs and outputs. For example, you can organise one patch row to include your MIC input, Insert send and return, Line input, and possibly group mon input.
As demonstrated in this guide, there are numerous options for integrating the Mini SSL into your studio setup. This guide lays down the groundwork for utilising the Mini SSL, focusing primarily on two standard methods: recording and mixing. However, as a user, the possibilities are limitless, and the system can be connected to even more alternatives within your studio environment. With the Mini SSL, the iconic sound of SSL is now more accessible than ever before, offering a gateway to sonic excellence in a compact package. It represents a perfect integration of analog sound with the advantages of digital workflow. Feel free to explore and experiment to discover the setup that best suits your needs and preferences.
The Mini-SSL by Mark1
- 8x SSL611 4000 series I/O modules.
- I/O panel to connect the Dsub25 inputs and outputs.
- Internal MARK1 power supply (PSU).
- MARK1 summing Printed Circuit Board (PCB). This board sums the signals going in and out of the Mini SSL.
- More info
Add-ons
- Channel Dynamics Dry/Wet knob.
- Wheeled stand with 19’’ racking.
For more information about the Mini-SSL, its availability and customisation options, please get in touch with sales@mark1.nl or +31 (0) 6 52 43 24 05
Read more:
Unveiling the Mini-SSL: Redefining Iconic Sound in a Compact Package
Credits: Author: Joppe / Images: Joppe / Text check: Matthijs / Edits and publishing: Dennis
